
How to Set Up Reliable Emergency Campsite Lighting in 4 Steps
Setting up an effective emergency lighting layout keeps your campsite safe, organized, and visible during unexpected outdoor challenges.
Step 1: Position Main Floodlight for Perimeter Coverage
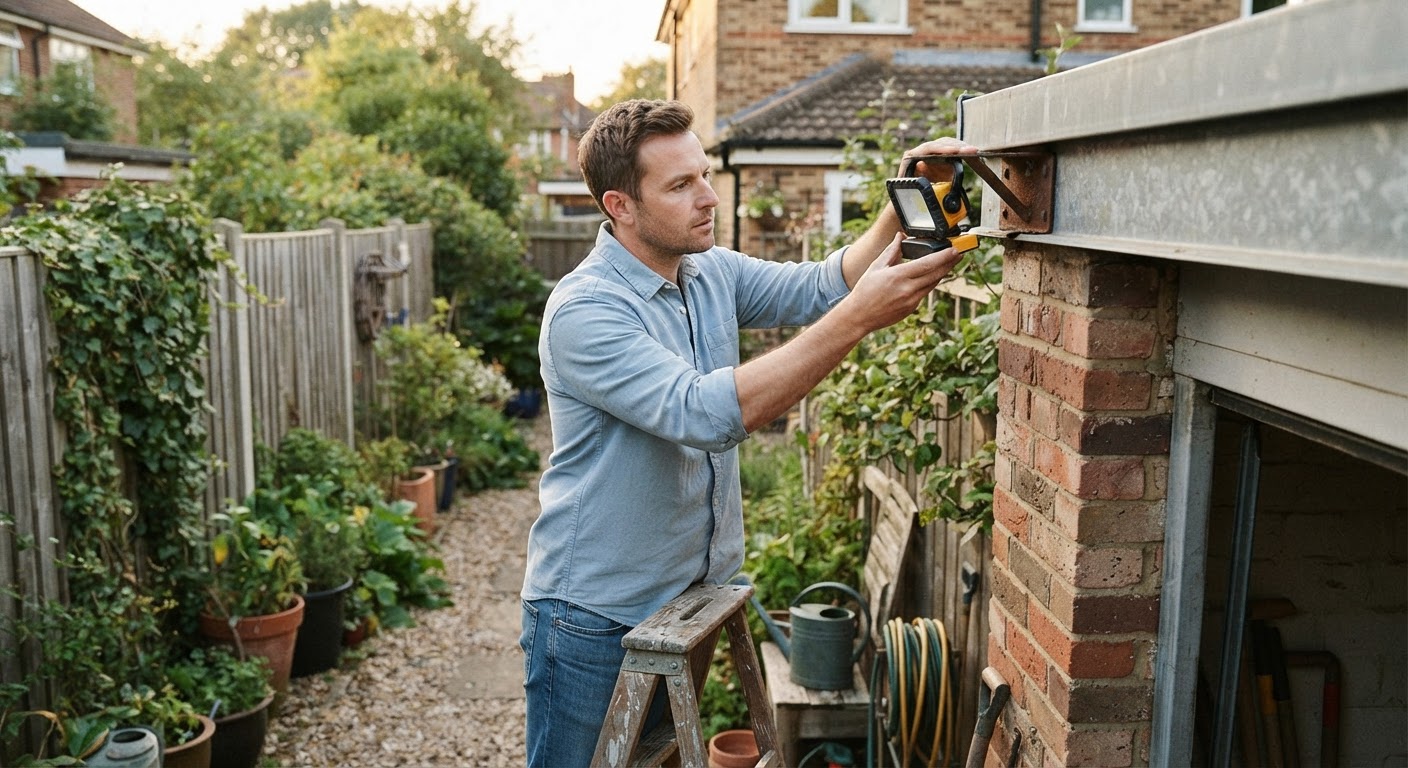
Place your primary high-output light at a high vantage point overlooking the central camp area. Utilizing a light capable of 10,000–15,000 lumens with 288 LEDs ensures wide coverage that eliminates dangerous shadow zones around tents and gear storage.
Step 2: Secure Hands-Free Mounting via Magnets and Hooks
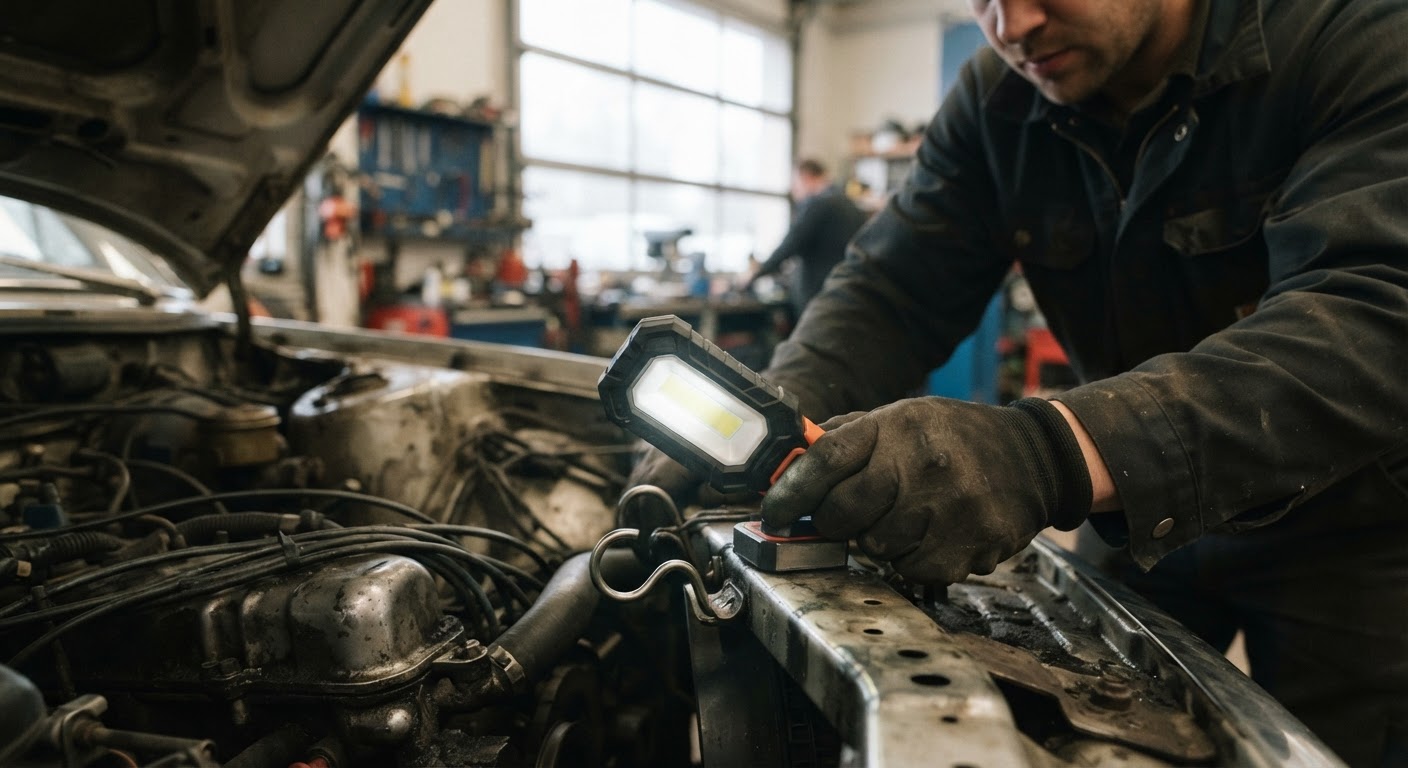
Use integrated mounting features to lock lights into position. Attach units using strong built-in magnets on both sides directly to vehicle panels, or deploy the 180° adjustable stand with hidden hooks to hang the unit from canopy frames or trees. Ensure the setup is elevated at least 6-10 feet feet off the ground for wide beam distribution.
Step 3: Adjust Brightness and Color Mode for Energy Efficiency
Select the appropriate lighting mode for your task—choose White & Yellow light for setup work or Warm light for relaxing. Long press the power button to dim brightness down to lower levels (from 100% to 5%) when high output is unnecessary, maximizing the 6–8 hours runtime.Step 4: Monitor Battery Status and Solar Recharge Placement
Keep an eye on the 4 battery indicator lights during operation. During daytime hours, place the unit in direct sun so the built-in solar panel maintains power reserves. To learn more about selecting equipment, consult the main guide.Read the full guide: The Complete Guide to the Best Emergency Lighting for Off-Grid Camping